Getting started with GitHub Pages...the right way
23 Aug 2017I will assume you know how to use GitHub. If not, there is a tutorial you can follow here
This one is going to take me back, because it’s been a while since I’ve set up my own blog through GitHub Pages. If any information is invalid, please send me an email at [email protected]. Like my other guides, this will be broken up into sections.
- Setting up accounts
- Set up GitHub Pages
- Use Google domains to buy your domain
- Use Cloudflare to configure your domain
- Tie in all your changes to GitHub Pages
Setting up accounts
You will need several accounts for this. So, if you don’t already have an account at each of these places, set one up.
Set up GitHub Pages
For the sake of this guide, I’ll use joe as an example GitHub user. Anytime you see “joe” I’m referring to your GitHub user. Also, joe will be registering a domain called joe.com.
Go to your GitHub page, e.g. https://github.com/joe. From there, click on Repositories. Then click the New button. For the repository name, enter joe.github.io. Configure the rest of the options as you see fit, but the repo name is NOT optional. When you’re done, hit Create repository.
Now, when you go back to your repositories, you should see joe.github.io. Click it. Then, click Settings up top. You should see a GitHub Pages section. You’ll notice a Theme Chooser section, and you’re going to want to click the Choose a theme button. From there, pick whatever theme you want to rock on your blog. As for me, I use the Lanyon Theme because I like simplicity. Fair warning though, Lanyon doesn’t seem to be active anymore, and I had to make several modifications to it to make it work right.
Anyway, with all that set up, you should be able to view your blog. Go to joe.github.io and make sure that it shows up.
You don’t really need to go any further than this, but it’s so much more awesome to have your own domain, and thanks to Google, you can do it for relatively cheap (also, Google allows free anonymous domain registrations).
Use Google domains to buy your domain
You can get to Google domains here. Once there, you can search for a domain, and you’ll get a price. I’m pretty sure mine was $12 a year which is a pittance. Once you’ve done that, you could just set up everything at this point and be done with it. However, in my most humble opinion, you’d have to be an idiot not to go on to the next step and configure your domain to go through Cloudflare. I’ll say why in that section.
Some things you might want to consider, you can keep your info private for free with Google domains. What this means is, if your info is public, I can go to a website like whois.net and get contact info for whoever owns a particular domain, including telephone number, street address, and email. I don’t know about you, but I definitely don’t want that kind of stuff tied to my email. That was the big catcher for me, and why I ultimately went with Google domains.
If you decide to skip Cloudflare, you can just add the DNS records found in the next section to your Google Domains dashboard.
Use Cloudflare to configure your domain
I’m going to start this section by listing some awesome things Cloudflare does
- Automatically minify JavaScript, CSS, and HTML
- Automatically overwrite HTTP requests to HTTPS
- Free SSL certificates, yes, I just said free
- Easily set cache expiration
- Cloudflare will automatically cache your webpage, meaning workload reduction for your server
- Analytics to help you determine the nature of your traffic The benefits of Cloudflare are overwhelming. To reiterate what I said before, I think you’d have to be a fool not to use this most incredible service.
With all that in mind, of freaking course you’re going to use them, so let’s get rocking!
I’m going off memory here, so if something is wrong, all I can say is a very sincere “whoops-a-daisy”.
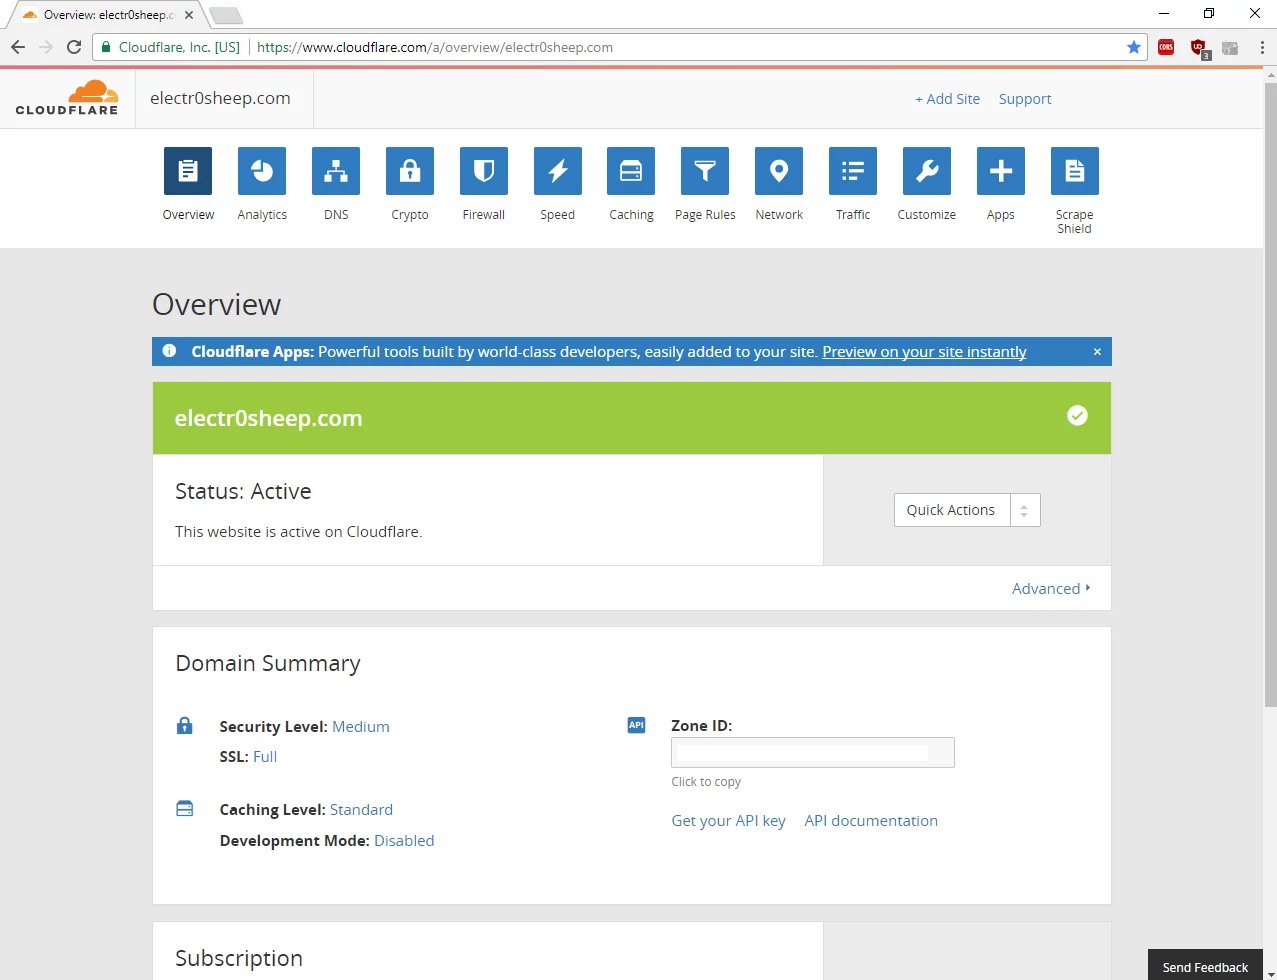
First, log in to your Cloudflare account and add your domain. You may have to verify your domain or something like that. Once all that is done, you should be presented with the Cloudflare dashboard, which will look something like this:

From there, click on the DNS button. Scroll down passed DNS Recods, and you should see Cloudflare Nameservers.
All you need to do is configure your name servers on Google Domains. So, go to Google Domains and click the MANAGE MY DOMAINS button. Then, hit the DNS button. Then, under Name servers, select Use custom name servers . Enter in the nameservers that you got from Cloudflare. Now, you shouldn’t have to use Google Domains for anything else.
Now, we need to edit some DNS Records on Cloudflare, so go back the DNS page on the Cloudflare dash. We need to add the following records:
| Type | Name | Value |
|---|---|---|
| A | joe.com | 192.30.252.153 |
| A | joe.com | 192.30.252.154 |
| CNAME | www | joe.github.io |
With all that done, there is one final thing we need to do before you can access your blog through joe.com.
Tie in all your changes to GitHub Pages
All you need to do is create a CNAME file in the root of your GitHub Pages repo with the following lines
joe.com
www.joe.com
After having done all that, you should finally be able to access https://joe.com!

